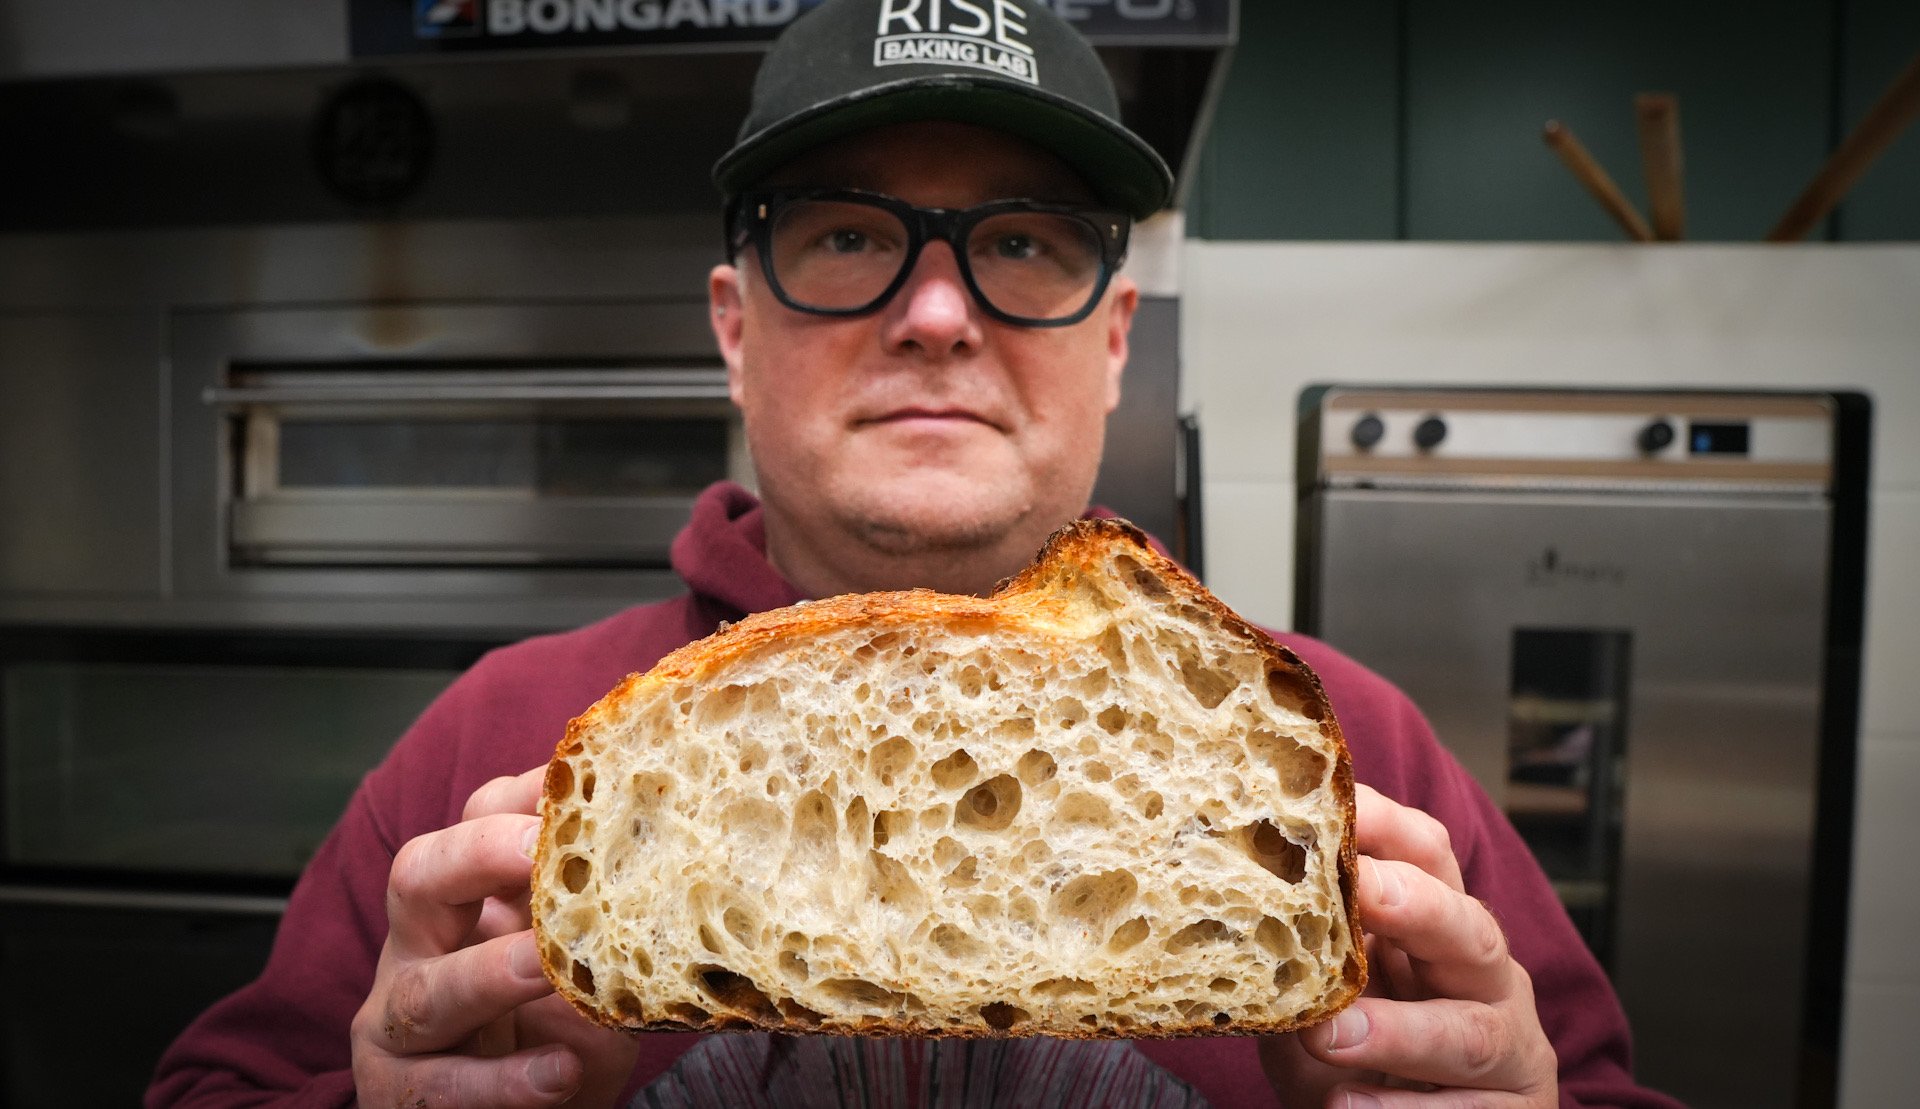
notes on Maximizing Loaf Volume and Open Crumb Sourdough
these notes are based on my experiences achieving high volume and open crumb in sourdough baking. While there are various methods, and differing approaches, these observations are derived from years of baking in diverse settings—from home kitchens to commercial bakeries. I’ve worked with hand mixing, KitchenAid, Ankarsrum, Hobart, and spiral mixers, and the principles here hold true regardless of the equipment. This guide assumes a basic understanding of the importance of steam, humidity, temperature, during baking as well as mixing, dough handling, and shaping.
Achieving maximum loaf volume and an open crumb is about balance. To create an open crumb, whether evenly webbed or more irregular, you need to maximize your loaf’s volume. This takes practice, but here are some key points:
An open crumb doesn’t mean big holes surrounded by dense areas! The goal is a loaf with large, consistent alveoli, maximizing the overall volume and producing a light, soft texture. This can be achieved at both high hydration (85%+) and lower hydrations.
Maximize gluten development. The potential volume of your loaf is tied to gluten development. This is best achieved through thorough mixing, ideally in a spiral mixer, but it can also be done by hand using autolyse (1-2 hours), the slap-and-fold technique, folding during bulk fermentation, and lamination. If you’re unfamiliar with these techniques, a quick search on YouTube or Instagram can help.
Balance elasticity and extensibility. Once you have well-developed dough, you need to balance these properties by manipulating factors such as bulk fermentation length, proof level, flour choice, hydration, shaping technique, and dough temperature before baking. During bulk fermentation, a well-developed dough gains strength and becomes more elastic. A thorough bulk fermentation maximizes aeration and volume but can result in tighter dough. Balance is key: if the dough is too tight, it won’t expand well in the oven.
Flour choice and hydration. Stronger flour results in more elastic dough, which must be balanced by hydration. Higher hydration (over 80-85%) requires stronger bread flour. For lower hydration breads, use softer flour or maximize proofing. Note that overly strong flour can lead to unpleasantly tough bread if not balanced by higher hydration. Again, balance is essential.
The Importance of an Active Sourdough Starter. Developing the dough is crucial for trapping gases, but the sourdough starter is what generates those gases. Without an active, well-maintained starter, your dough will not produce enough gases to maximize volume. An active starter ensures vigorous fermentation, leading to a well-risen loaf with an open crumb. If you need to enhance your starter skills, consider joining our sourdough starter course, where we delve deep into maintaining and optimizing your starter for the best baking results.
Shaping. Avoid overtightening, especially with well-developed and highly fermented dough. Feel the dough—if it’s tight, shape it loosely. For some fully developed doughs, even high hydration doughs, simply folding the loaf in half and sealing the seam may suffice. The shaped loaf shouldn’t be excessively tight; if it is, let it proof fully and warm up slightly before baking to avoid a tight, dense result. Also note that shaping will determine the evenness of the final crumb. Leaving huge pockets during shaping can lead to huge pockets in the finished loaf. Shaping mistakes can also create large pockets and ‘tunneling’ which is not to everyone's taste.
Total proof. Maximizing gluten development increases the amount of proof your loaf can handle. Total proof combines gases trapped during bulk fermentation and final proofing. The goal is to trap as much gas as possible without the dough becoming overly slack. If underproofed, a well-developed loaf will be too tight; if overproofed, it will deflate when turned out and scored. Balance is crucial—gently poke the dough to check its readiness. Does it feel strong enough to handle more proof? Cold proofing may require slightly more proofing than anticipated due to the dough firming and shrinking in the fridge.
Loading temperature. If cold-proofing results in very firm dough, let it warm up before baking to achieve the right balance of elasticity and extensibility. Fridge temperatures vary, affecting dough elasticity. If too cold, the dough may need to warm slightly before baking to avoid being too tight. Conversely, if too warm/slack, it won’t hold shape well during scoring and baking.


